Installing a dash cam for car is a wise investment in your vehicle's safety. In this guide, we'll walk you through two methods: using a cigarette lighter adapter (CLA) or a hardwiring approach. Additionally, we'll address common questions to ensure a smooth installation process.

How to Install Dash Cam?
Using the cigarette lighter adapter (CLA)
This installation method is simple and convenient, requiring no modifications to the vehicle's electrical system, but it may lead to unstable power supply for the dash camera. The installation steps are as follows:
1. Choose installation location for the dash cam, typically recommended behind the rearview mirror, in the center of the windshield, for optimal viewing angle.
2. Clean the installation spot on the windshield, attach the mounting bracket, and affix the dash cam onto the bracket.
3. Connect the cables to the dash camera.
4. Route the power cable, tucking it behind the headliner and rubber weatherstripping along the A-pillar, extending downwards, passing through the bottom of the dashboard,
5. Plug the power cord into the cigarette lighter socket.
6. Insert the memory card into the dash cam, start the car, and the dash cam will begin recording.
Hardwire method
This installation method can provide a more stable power supply and does not occupy the cigarette lighter socket, but it requires more installation steps and modifications to the vehicle's electrical system, which may require professional skills or personnel to complete. The steps are as follows:
1. Tools Required
- Hardwire kit
- Test light screwdriver
- Long-nose pliers
- Wrench
- Trim removal tool
2. Locate mounting points
Choose dash cam spot: usually behind rearview mirror, center of windshield.
3. Install the dash cam bracket
Clean the chosen spot, stick on the mount, and install the dash camera onto it.
4. Find the fuse box
Locate the fuse box and grounding point, often beneath the driver's or passenger's side dashboard.

5. how to install dash cam wire
Connect the cables to the dash camera and arrange the power cable. Tuck it along the headliner, A-pillar rubber strip, down to the fuse box, avoiding airbag wiring.

⭐Note: In the hardwire kit, the yellow wire is for the battery, which needs to be connected to a constant fuse slot. The red wire is for ACC, which should be connected to an ACC slot, and the black wire is for ground, which needs to be connected to a grounding point.

6.Connect to the grounding point
Loosen the grounding point bolt, connect the hardwire kit's black ground wire, and tighten the bolt.

7. Find a constant fuse slot
Turn off ignition, test light to detect a slot that remains powered.

8.Install the fuse
Use long-nose pliers to remove the fuse, install it into the hardwire kit's yellow battery wire.

9. Insert the yellow battery wire into the original fuse slot.

10. Connect the ACC slot
Use the test light to locate a slot powered only when ignition is on. Remove the fuse, install it into the hardwire kit's red ACC wire, and insert the wire into the original fuse slot.
⭐Note: The camera now has constant power, and the built-in voltage cutoff feature will protect your battery.
11. Use zip ties to secure excess power cable.
12. Test the dash cam
Insert the memory card into the dash cam, power it on, and set up.
Summary
With this comprehensive guide and answers to common questions, you can confidently install a dash cam in your car, enhancing driving safety. A properly installed dash cam ensures you capture important footage whenever needed.
FAQ about installing dash camera
Where to install dash cam?
Ideally, position the dash camera behind the rearview mirror to minimize obstruction and maximize visibility.
How much to install a dash cam?
DIY installation costs are generally low, comprising mainly the dash cam and any required accessories. Professional installation may entail additional expenses.
Does installing a dash cam void warranty?
In most cases, installing a dash camera does not void your vehicle's warranty. However, it's wise to review your warranty terms to avoid any potential issues.
How long does installation take?
Installation time varies depending on the method chosen and vehicle complexity, typically ranging from 30 minutes to 2 hours.
How can I conceal dash cam wires?
Hide dash camera wires along the vehicle trim or headliner using cable clips, bonded cable tie-downs, or wire troughs for a neat and professional installation.
Is professional installation required?
Although DIY installation is possible, professional installers offer additional expertise for optimal placement and functionality.
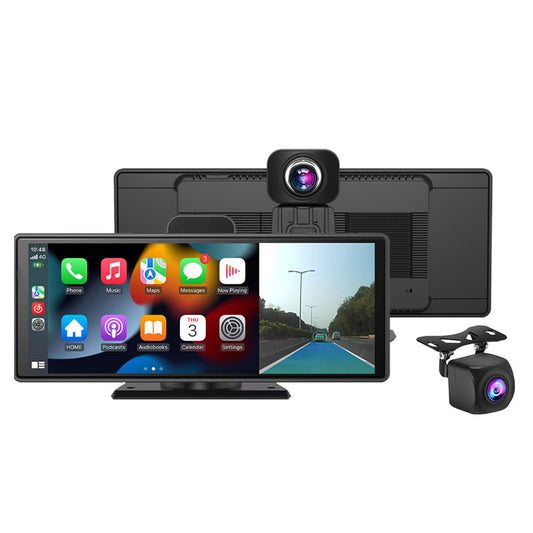
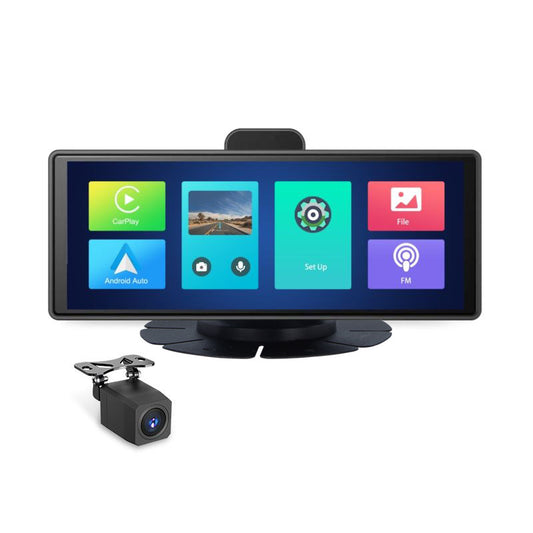
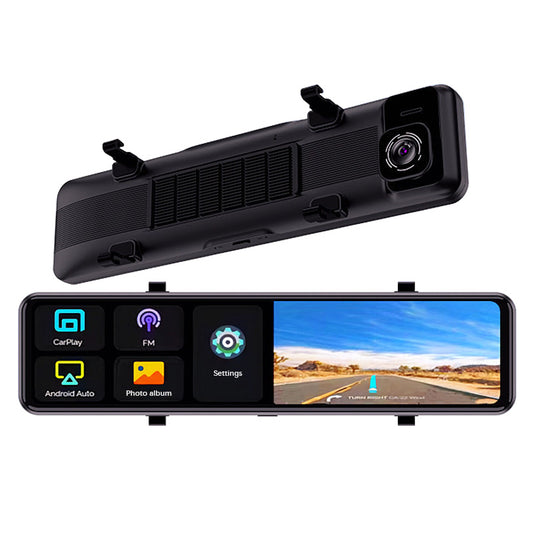
Looking for the best dash camera? check out Aoocci Dash cam 2024 for a wide selection and reliable performance.